Connecting to your database
Setting up a connection
Before you can use Ezfire, you must setup a connection to your database. We have connection guides available for each database we support.
By default, all new connections are shared with every member of your organization.
Managing connections
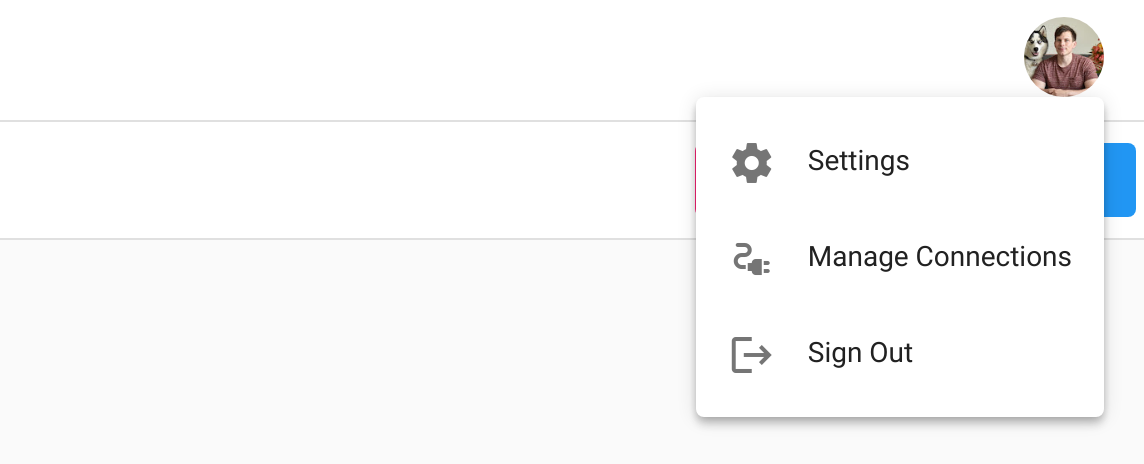
To create, update or delete connections, first open the Manage Connections dialog by selecting Manage Connections from the main menu.

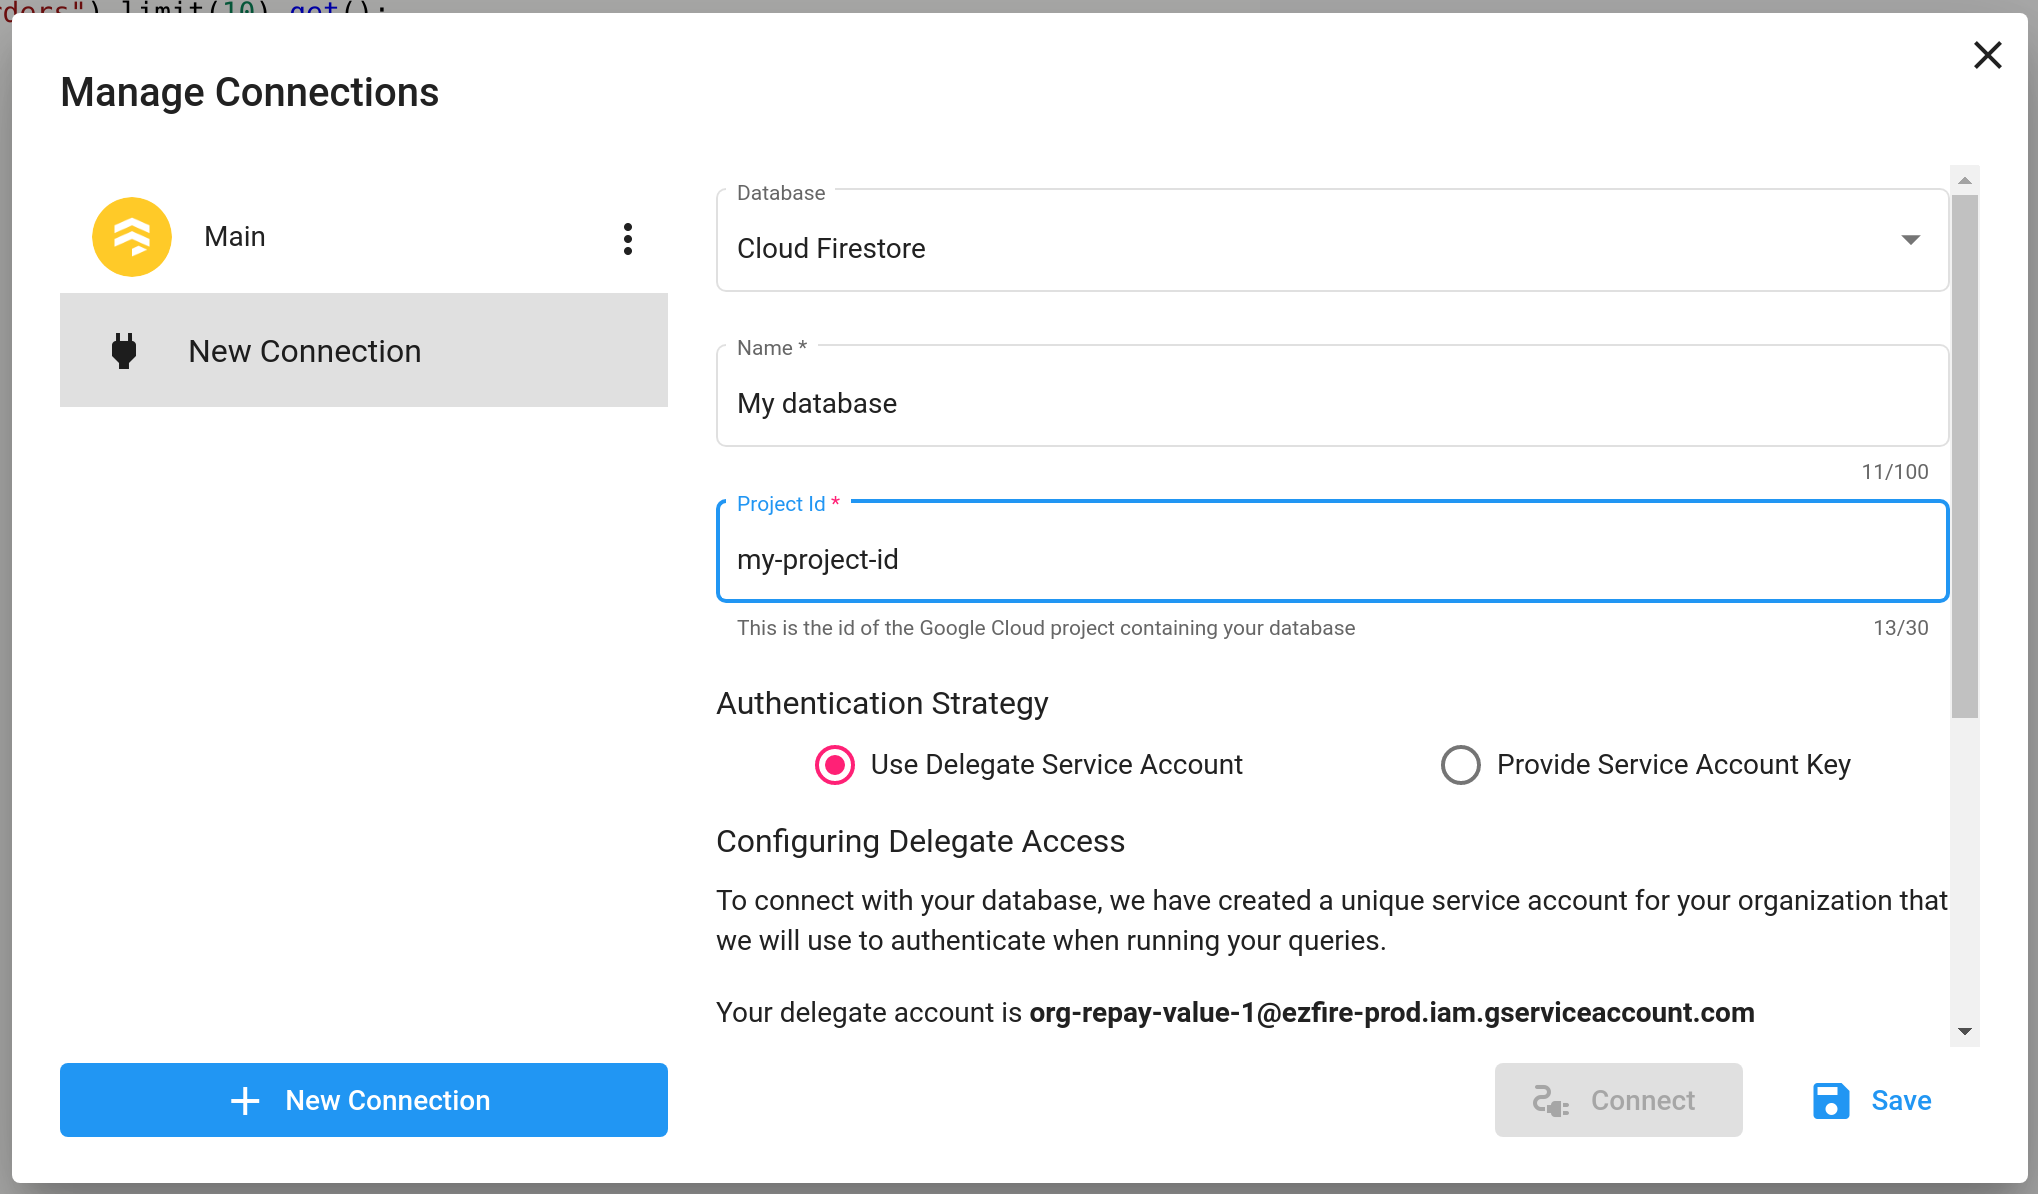
To create a new connection, click the New Connection button on the bottom-left of the dialog. Choose the type of database to connect to, provide the required information, and click Save to finish creating your connection.
To update a connection, select the connection from the left-hand side of the dialog, modify the intended fields in the form, and click Save to finish updating your connection.

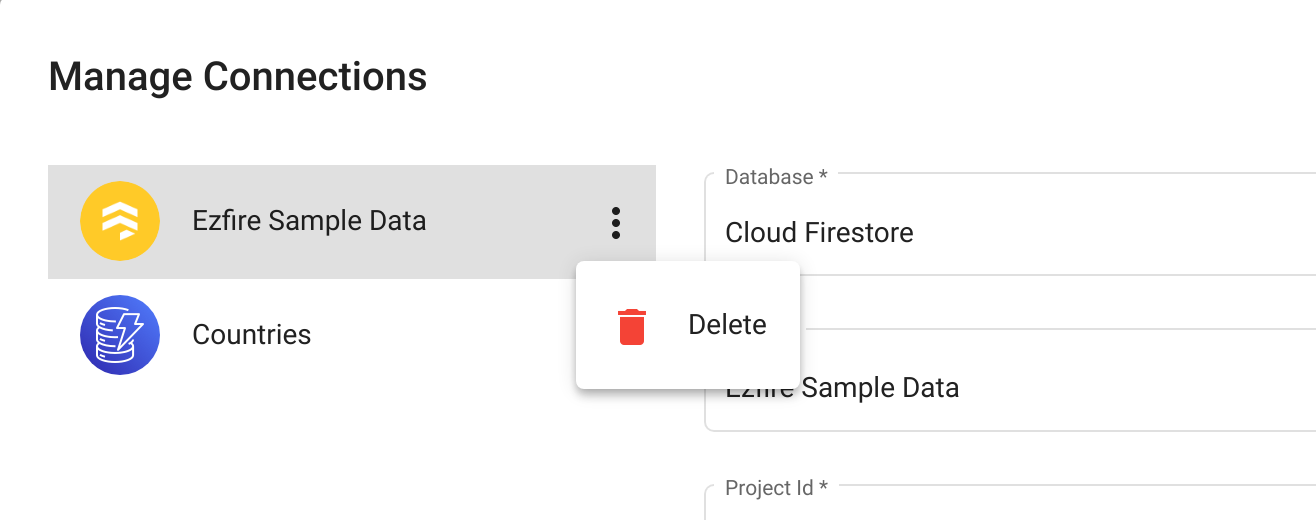
To delete a connection, click the options icon on your connection on the left-hand side of the dialog, and select Delete from the menu to finish deleting your connection.

Switching Connections
To switch connections, from the Manage Connections dialog, select the connection from the left-hand side and click Connect to switch to that connection. Switching to a new connection will configure the query editor to provide code suggestions for that database.